Lesson 3: Compose, Perform and Record a Soundtrack
Lesson overview
In this lesson, students collaborate* to develop musical arrangements in response to film or imagery. Using the provided Cinematic Performance Live Set which combines all instruments used in previous lessons, they compose, perform and record their musical compositions.
Learning intentions
- Critical listening – identify and describe musical conventions
- Technology literacy – effective use of MIDI editing and arrangement tools
- Creativity – imagine musical responses to imagery or video content
- Collaboration – working together to create and perform musical arrangements
Preparation (10-15 mins)
- Consider appropriate and viable options for the extended composition task
- Print the blank Graphic Score Blank Template, or make a digital copy available^
- Ensure the included Compose, Perform and Record a Soundtrack - Live Set is accessible to students
- Consider multiple MIDI controllers and headphone splitters for group work
- Consider using any of these optional resources to support teachable moments in this lesson
- Check video content is suitable for your learners
In the classroom (90-120 mins)
- Step 1: Introduction – decide which source of inspiration will be used for the collaborative composition task (10-15 mins)
- Step 2: Practical task – students collaborate to compose a soundtrack using the Cinematic Performance Live Set (15- 30 mins)
- Step 3: Practical task – students use the graphic score to develop and map out their musical arrangement (15-30 mins)
- Step 4: Recording musical arrangements – students record, overdub, export and share their compositions (15-30 mins)
Activity Option:
* Ideally, students will work in pairs or small groups, but if in-class collaboration is not an option, this task can be done individually.
^ Consider developing the graphic score artistically as an additional piece of student work.
Introduction: Creating a soundtrack arrangement
Included below are several options through which you may frame and inspire students to create the final composition in this project. Additionally, using a graphic score may support or extend this task.
“Providing students with multiple options in an extended task allows for student agency and greater engagement with learning.” — Matt Ridgway
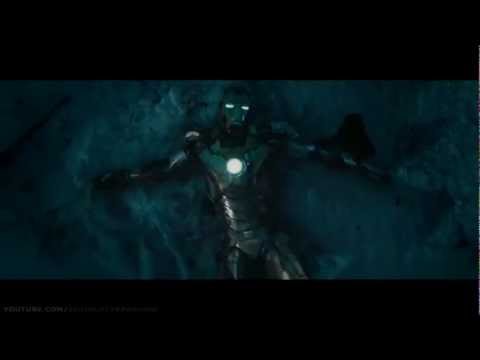
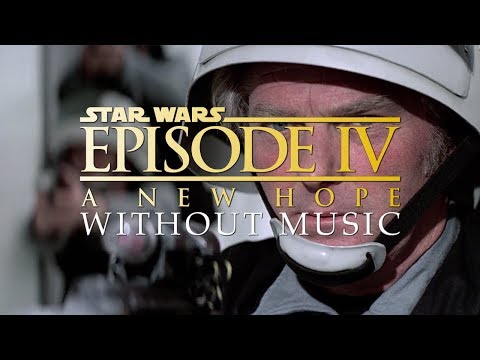
Film trailers with the music removed
Several YouTube channels host film trailers with the music removed. Students may use these as a backdrop to a real-time live score performance!
Follow the musical conventions of the blockbuster trailer
Map the cue points used in this clip as a rough outline for an arrangement, then create a score to this outline using the supplied sounds.

Rescore a film trailer
Map out the musical movement and form of one of the trailers from Lesson 1, then hit mute and re-score the work using the supplied sounds.
Use photographic imagery
Develop the compositions started in Lesson 2. Write a ‘musical story’ that accompanies the image, and create an arrangement that develops with this story.
Source original film or video game footage
Score to original video footage such as skateboarding tricks or screen-captured video gameplay. A 2-minute edit with movement, action and tight cuts may provide exciting footage to compose to.
Practical Task: Collaborative composition
In the practical activity, students use the Cinematic Performance Live Set to collaboratively compose and record a short musical soundtrack.
“The process of composition with music production software often lends itself to being an individual experience… but, music is very much about collaboration and listening. The performative possibilities of Ableton Live allow for a collaborative composition workflow.” — Matt Ridgway
Task Steps:
- The teacher introduces the collaborative composition task and decides which source of inspiration students will use
- The teacher explains how a graphic score (either hand-drawn or using the included template) will be used to visually map the musical form, volume, tone and texture
- The teacher explains how MIDI devices control instruments within Live
- Student groups use the Compose, Perform and Record a Soundtrack - Live Set to develop, rehearse and refine their composition, mapping the musical form to a graphic score
- Students multitrack record their MIDI performance into Arrangement View
- Students export, share or perform their work to peers
Graphic Score Examples
These resources can be used as examples to give students inspiration for their own graphic scores.
This website provides several samples of graphic scores and their use in performance.

The Classic FM website provides 20 annotated examples of graphic scores from a range of contemporary composers.
View: Examples of Graphic Scores
Graphic Score Template
Many music curriculums have score-writing requirements, with students required to represent compositions using notation.
“Creating a graphic score is a way in which students without western-classic notation experience can visually represent the sounds and form they are imagining.” — Matt Ridgway
Students may create a graphic score interactively using the linked Google Drawing template, draw on a blank version, or choose to use a more familiar form of notation.
Guide: Graphic Score – worked example
Worksheet: Graphic Score – Blank template
Tip: Collaborative or individually, the graphic score can be used by students to:
- Display the musical form of their work – drawing an overarching flow of the arrangement
- Show individual parts along a timeline – individuals within the group can draw their parts down on a group score
- Represent the timbre and dynamics of individual instruments
- Create a roadmap for performance – indicate specific cue points that all students work towards when playing together to perform or multi-track record
Compose, Perform and Record a Soundtrack - Live Set
The Compose, Perform and Record a Soundtrack - Live Set contains four cinematic-styled instrument racks and a Drum Rack loaded with 64 cinematic hits, orchestral effects, samples and loops.
This Live Set opens in Arrangement view, ready for multiple Instrument tracks to be recorded and overdubbed.
Download: Compose, Perform and Record a Soundtrack - Live Set

- Opens in Arrangement view to record along the timeline
- Four cinematic-styled instrument racks and a Drum Rack loaded with 64 orchestral one-shot samples and cinematic loops.
- Overview of what is included within the Live Set
Tip:
- The collaborative composition task is to have 2-3 players simultaneously working within the same Live Set.
- Connecting more than one MIDI device allows control of multiple instruments at the same time.
Classroom Tip: Setting up multiple MIDI devices on a single workstation
With Ableton Live a group of players can perform together on just one workstation with everyone playing a different instrument via connected MIDI controllers.
Here's how you set it up:
Selecting MIDI source from the I/O
Open I/O by clicking on the icon
Assign different input controls to each MIDI device you have available
TIP: Connect a computer keyboard alongside Push, pad or keyboard MIDI devices.
CMD-click on the record button
By default, Live record arms one channel at a time. CMD-click each track’s record button to arm multiple MIDI tracks.
Classroom Tip: Strategies for collecting student work
There may be several finished products in this project. Depending on your particular learning focus, assessment considerations and school-specific practices for submitting work, you may consider one or more of the following approaches appropriate for your classroom.
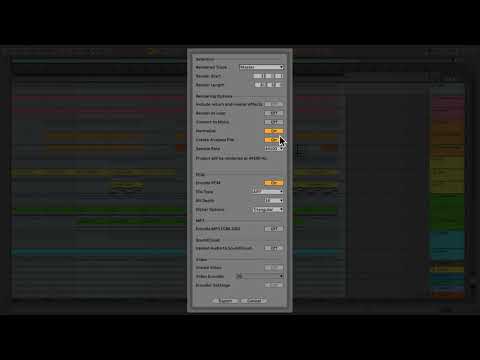
Audio file
Exporting the arrangement to .wav, .aif or .mp3 is an easy and convenient way for students to share their work.
For support on this follow the guide to exporting audio files.
Project file
Students can save, label and share their .als project file. To ensure the arrangement can be played back on a different workstation, use Live’s collect all and save function.
“Pass the aux-cable”
For a more informal approach, listen to and share student work in the classroom. Use a long 3.5mm stereo minijack cable to connect student computers to a speaker system.
Graphic score
Consider a multi-media portfolio, which includes the graphic score alongside the audio submitted.
Reflections within a blog post
Students may share a written reflection on their work via a blog post on your school’s learning management system (such as Google Classroom) that includes audio, images and video.