Watch Talks, Performances and Features from Ableton's Summit for Music Makers
Learn the fundamentals of music making right in your browser.
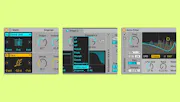
Get started with synthesis using a web-based synth and accompanying lessons.
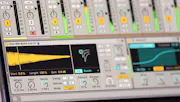
Some tips from 74 Creative Strategies for Electronic Producers.
Check out the bundles
See what's new
Learn more